
7 Creative Hairstyles for the Spring


As you’ve probably guessed, one of our favorite things about the arrival of a new season is planning out all of the new hairstyles we can try! Luckily for us, spring is finally here and we have countless creative dos on our list that are perfect for the slightly warmer weather. From beautiful braids to gentle curls and simple yet chic styles for work, HerStyler has your locks covered for every event on your calendar!
Curly Side Parted Bob
When it comes to creative hairstyles for the spring, we’re all about styles with plenty of volume and bounce! That’s why we’re so smitten with this gorgeous, curly side-parted bob. It’s perfect for anyone with shorter locks looking to elevate straight hair. Plus, it works perfectly for both casual and formal occasions.
The best part?
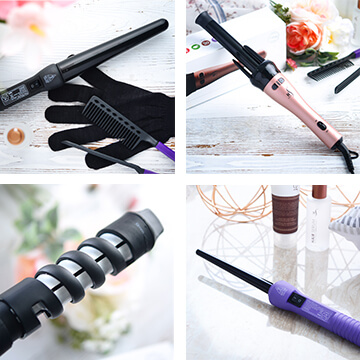
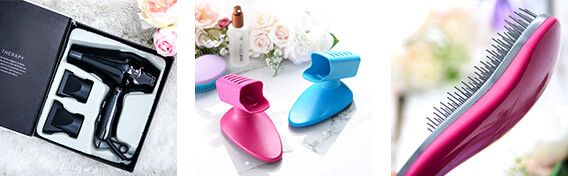
It’s super-easy to create! All you’ll need is a little bit of time, freshly washed tresses, and your trusty Herstyler curling iron. We recommend the Beach Curler for, you guessed it, beachy curls, or the Grande Curls purple wand if your hair is on the thicker side and you want a more defined, ringlet-style curl.
If you’re not sure which wand you need, don’t worry, we have you covered! The HerStyler 5P Curler is ideal for all hair types. Plus, it creates all sorts of curls so you can mix things up depending on the style you’re trying to create.
So, why is it so perfect for all hair types?
This amazing curler comes with five different barrel sizes!
9/18mm, 18/25mm, 25/25mm, 25/32mm, and 32/32mm. That means no matter how thick, thin, long, or short your hair is, it has the right barrel size for you. What’s more, if you decide to grow your hair or cut it short, this versatile curler will still be your go-to for all curly styles – simply switch out the barrel!
How to Create a Curly Side Parted Bob
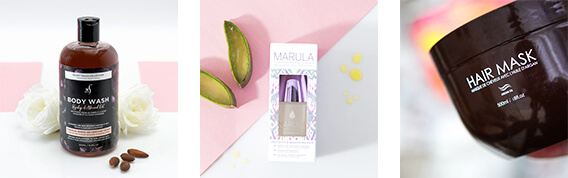
- As we said, for shorter creative hairstyles for the spring, like this one, it’s advisable to start with your hair freshly washed and conditioned. We recommend treating your tresses with the Herstyler Sleek Hair Shampoo and Sleek Hair Conditioner. This classic combo is designed to cleanse and revive the look of your locks by gently clearing away dirt and impurities.
- Once your hair is washed and dry, massage a couple of pumps of the Herstyler Marula Hair Nourishing Serum into the ends and mid-lengths of your locks. This will ensure your hair looks soft and feels manageable when styling. It’ll also give it an amazing shine when you’re done curling!
- Ensure your locks are tangle-free, then start dividing out small sections of hair one at a time. With each piece, take it in turns wrapping it around the curler from the base towards the tip. First curl away from your face, then towards it. Be sure to alternate as this will stop the curls from falling into one another and becoming one big curl. The key here is bounce and volume so we want lots of individual curls!
- Side note – don’t be too concerned with precise curl sizes. This style is supposed to look nonchalant so larger and smaller curls will work perfectly together!
- How many curls you create is up to you. That said, we recommend at least 5-6 on each side, more if you prefer! Wrap the hair all the way to the end to create a softer more shapely style overall. Or, stop an inch from the bottom if you’d like straighter ends and a sharper finish. (We love the softer look for a vintage nod!)
- Finally, when all of the hair is curled, use your fingers to create a deep side part. Start in line with the outer corner of your eye if you need a marker.
- Flip the hair over, then use your fingers to gently tousle and separate the curls. And that’s it!
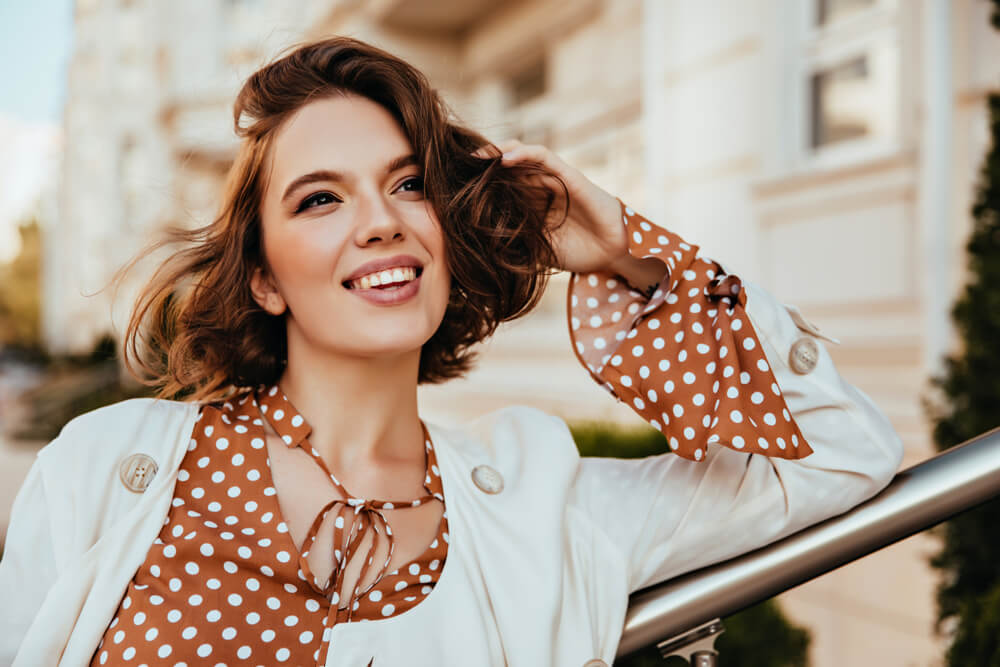
Straight Blunt Cut Bob

Meanwhile, if you’re rocking a bob but prefer straight styles, we hear you! The next of our creative hairstyles for the spring won’t take long to achieve and will have you feeling chic and cool the moment it’s done!
How to Create a Straight Blunt Cut Bob
- Firstly, follow the steps above until your hair is clean, dry and you’ve applied your hair serum. Another favorite of ours is the Herstyler VitaOil Biotin Hair Serum. It’s infused with biotin and vitamin E to leave your hair feeling soft and smooth.
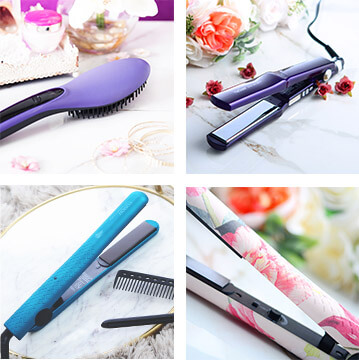
- Now, instead of reaching for your curling iron, go ahead and grab your go-to straightener instead. For this particular style (and pretty much all other creative hairstyles for the spring and beyond!), we recommend the HerStyler LED Pro Luxe 1.25 straightener. It has solid ceramic plates that heat up to 450°F. Meanwhile, the temperature control means you can set the heat to exactly the right setting for your hair type. They even emit negative ion technology to eliminate the look of frizz! Ideal for super straight and sleek styles like this one.
- You can choose whichever parting you’d like but we recommend a center parting for this one. Use a comb to make it super neat!
- Then, section your hair as you usually would when straightening and pull the plates gently down the length of each piece for a poker straight finish.
- FYI, this style looks amazing on lob-length locks too!
Flicky Layers With a Headband

No matter the length of your hair, if you have layers, this will be one of your favorite creative hairstyles for the spring. We especially love it for vacations. Get ready to stock up on ribbons, fabric headbands, and silk scarves!
How to Create Flicky Layers With a Headband
- First, you’ll want your hair to look impossibly glossy! Achieve this by adding the Herstyler Argan Oil Hair mask to your weekly hair care routine. This formula will leave your locks feeling thicker, shinier, and healthier.
- Afterward, blow dry your hair with a round brush so you can style the ends to flick out and under. Do this by drying the hair straight down until you reach the ends, then curl the hair around the brush to finish off the section. Curl under then out alternately to create this flicky style!
- Once that’s done, smooth on a couple of pumps of the HerStyler Argan Oil Hair Serum to seal any split ends and leave your tresses looking smooth and shiny! Add a colorful headband, ribbon, or headscarf and you’re all set!
Half Up Half Down Curls

From brunch catch-ups to dinner dates, this is one of our favorite creative hairstyles for the spring. So, get ready to backcomb, this one requires tons of volume!
How to Create Half Up Half Down Curls
- To begin, we suggest creating the voluminous front section first. This part is optional of course but that extra touch of height does give creative hairstyles for the spring, like this one, an added dose of glam!
- Section out your fringe, or where your fringe would be, then add an inch or two on either side and at the back to create a slightly larger section of hair.
- Brush this section straight up, then use a brush or comb, whichever you find least damaging to your locks, to gently backcomb it. We suggest taking small sections at a time working from the back to the front. This way you can use the front part to smooth over and cover the back coming!
- Secure this section in place with a few bobby pins, then gather up the remaining pieces of your hair you want to wear up. Secure them in place with a clear elastic and the height of your backcombed section will conceal it.
- Lastly, take your 5P curler, and use it to create plenty of curls all over. We even like to use different barrel sizes to achieve smaller and larger curls for added volume!
- Finish off by smoothing a little Marula Hair Nourishing Serum through the ends to protect the feel of your hair and leave it looking ultra-shiny,
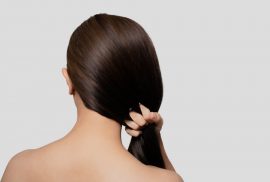
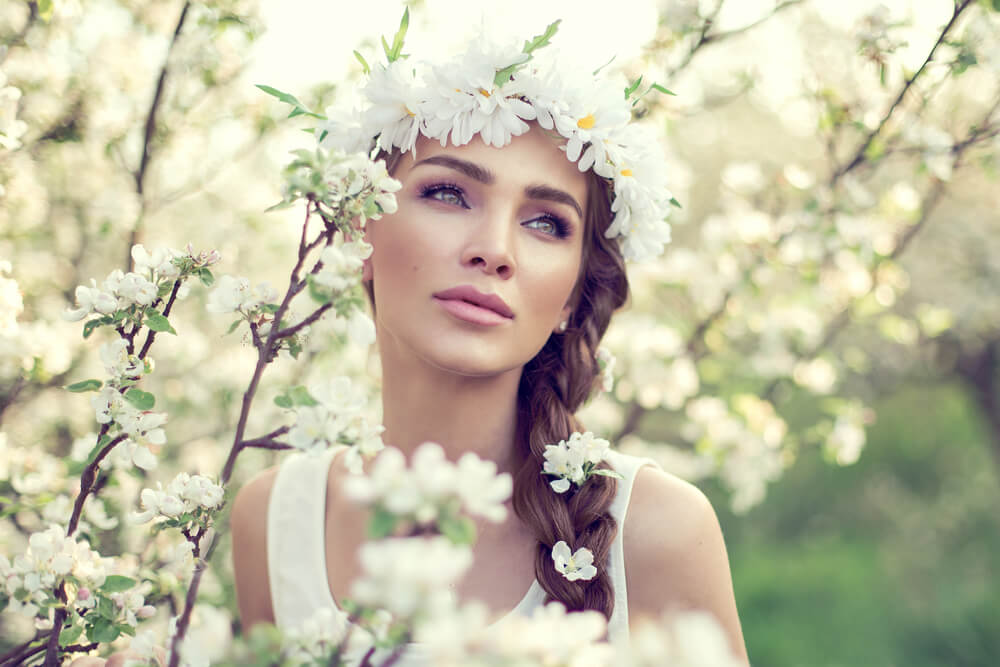
Long Three Strand Braids
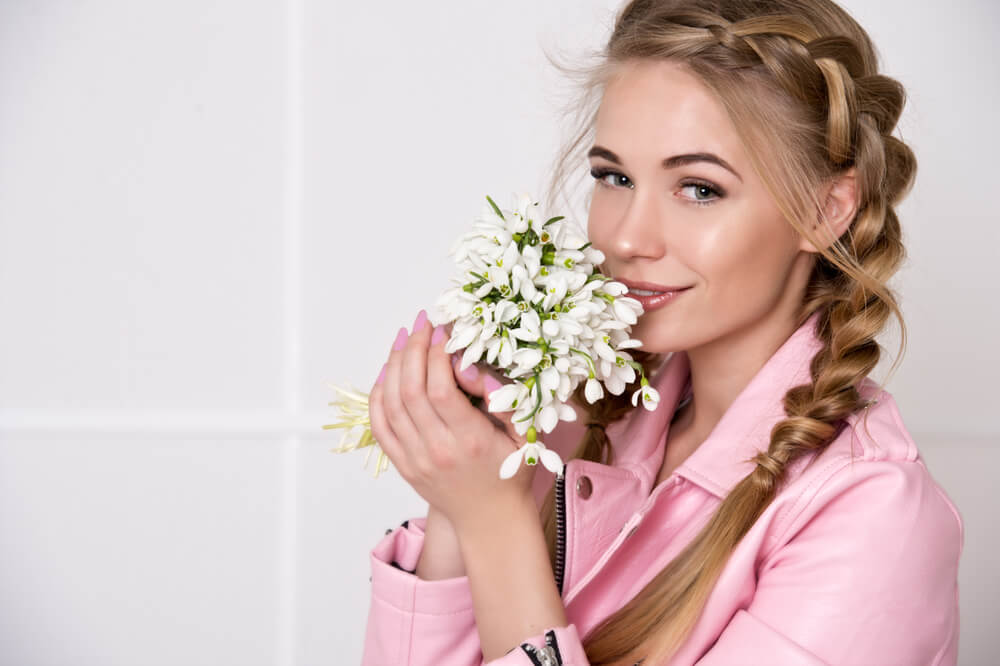
If, like us, you adore simple yet creative hairstyles for the spring, this next one’s for you. And yes, though three-strand braids might have been a favorite in grade school, we’re bringing them back – with an extra stylish touch!
How to Create Long Three Strand Braids
- To start one of our easiest yet most creative hairstyles for the spring, make sure your hair is thoroughly straightened and de-tangled. For long-lasting results, we recommend the Rose Gold Titanium Turbo Styler.
- Part your hair slightly off-center towards whichever side you’d usually wear a side parting. This will create the aesthetic of a chic center part but pulls it away from school girl braids.
- Next, with your hair in two equal sections, secure one side away. Split the first section/side into three equal pieces and leave your shorter front layers loose. These will frame your face and create a more grown-up edge!
- Now, rather than starting your braids high, start them at the bottom of your ears. Take it in turns wrapping each of the outer sections over the center piece for a simple, three-strand braid.
- When you reach an inch or two from the end of your hair, secure the braid in place with a clear elastic and repeat on the other side. Wear this style for work and off-duty days. You’ll be surprised how chic it looks!
Zig Zag Parted Space Buns
If you ask us, creative hairstyles for the spring should be all about fun! That’s why we’re loving these adorable space buns. They’re ideal if want to jazz up a plain outfit on the weekends. They also work perfectly for working out or running errands. Add these to your spring hairstyling repertoire so you can always feel fun, stylish, and playful at a moment’s notice!
Our advice?
Get two mirrors set up ready so you can see the back of your hair whilst creating this look!
How to Create Zig Zag Parted Space Buns
- To start, you’ll need to get that amazing zig-zag parting just right! Your two mirrors will come in handy here. Make sure your hair is brushed through, then use a tail comb to slowly zig-zag part the hair from the front to the back. Make each zig (and zag) a couple of inches long so your parting looks neat and intentional. Unlike a lot of our other creative hairstyles for the spring, this one is all about uniformity!
- Once the parting is set, divide your hair in two. Take your first side of hair and tie it away securely so you don’t accidentally gather up any of the hair from this side.
- Use a brush to comb section two neatly upwards as if you were creating a pigtail. once all of the hair is secured in your hand, twist it around, then twist that twist around itself to create a bun. Use a clear elastic (or a colorful scrunchie for a fun spring twist!) to secure it in place.
- Do the same on the other side, pull a few pieces loose at the front to frame your face, and you’re done!
Low Wrapped Bun
Looking for super chic and easy spring hairstyles for work?
Time to call off the search!
A low, wrapped bun not only looks elegant and put-together for office days, but it also takes just a few minutes, saving you heaps of time in the morning. And yes, this might just be the best third-day hairstyle going!
How to Create a Low Wrapped Bun
- Whether you’re starting with freshly washed hair or day three locks, this style is going to look amazing. That said, if your freshly washed tresses need a little added moisture and shine for a chic finish, add a pump of the HerStyler Castor Oil Hair Serum to your locks.
- To create the bun, simply gather your hair together as if you were creating a low ponytail, then twist. Once all of the hair is twisted, wrap it around until it creates a low-chignon-style bun. Secure this in place with a hair elastic, or use a metallic barrette for a chic touch.
- Wear this hairstyle to the office or pair it with a floral spring dress for an effortlessly elegant off-duty look!
Which is your favorite of our creative hairstyles for the spring? We’re betting the answer is – all of them! Whichever you choose to learn and add to your style rotation for the new season, we guarantee it’ll be your most stylish spring to date!
Want to create these hairstyles with even more ease? Check out the full range of heat styling tools available from HerStyler here.