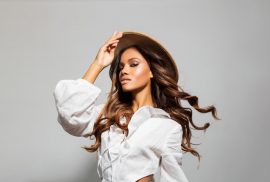

How to Give Yourself the Perfect Blowout


Ever wished that you could replicate the bouncy blowout that your hairstylist seems to whip up with ease whenever you’re at the salon?
If you’ve tried and failed, then that’s only because you haven’t had HerStyler by your side! Read on as we talk you through how to achieve a perfect, professional-level blowout.
It Starts in the Shower
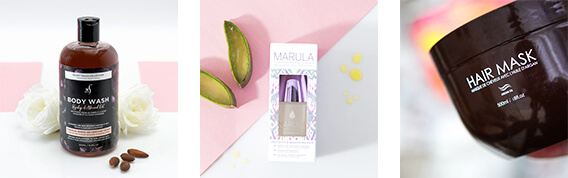
Prep work is everything if you’re hoping for a salon-quality blowout, which is why your efforts need to begin in the shower. Start by washing your hair with a gentle, moisturizing shampoo. The more hydrated your hair is, the better and bouncier your blowout will look.
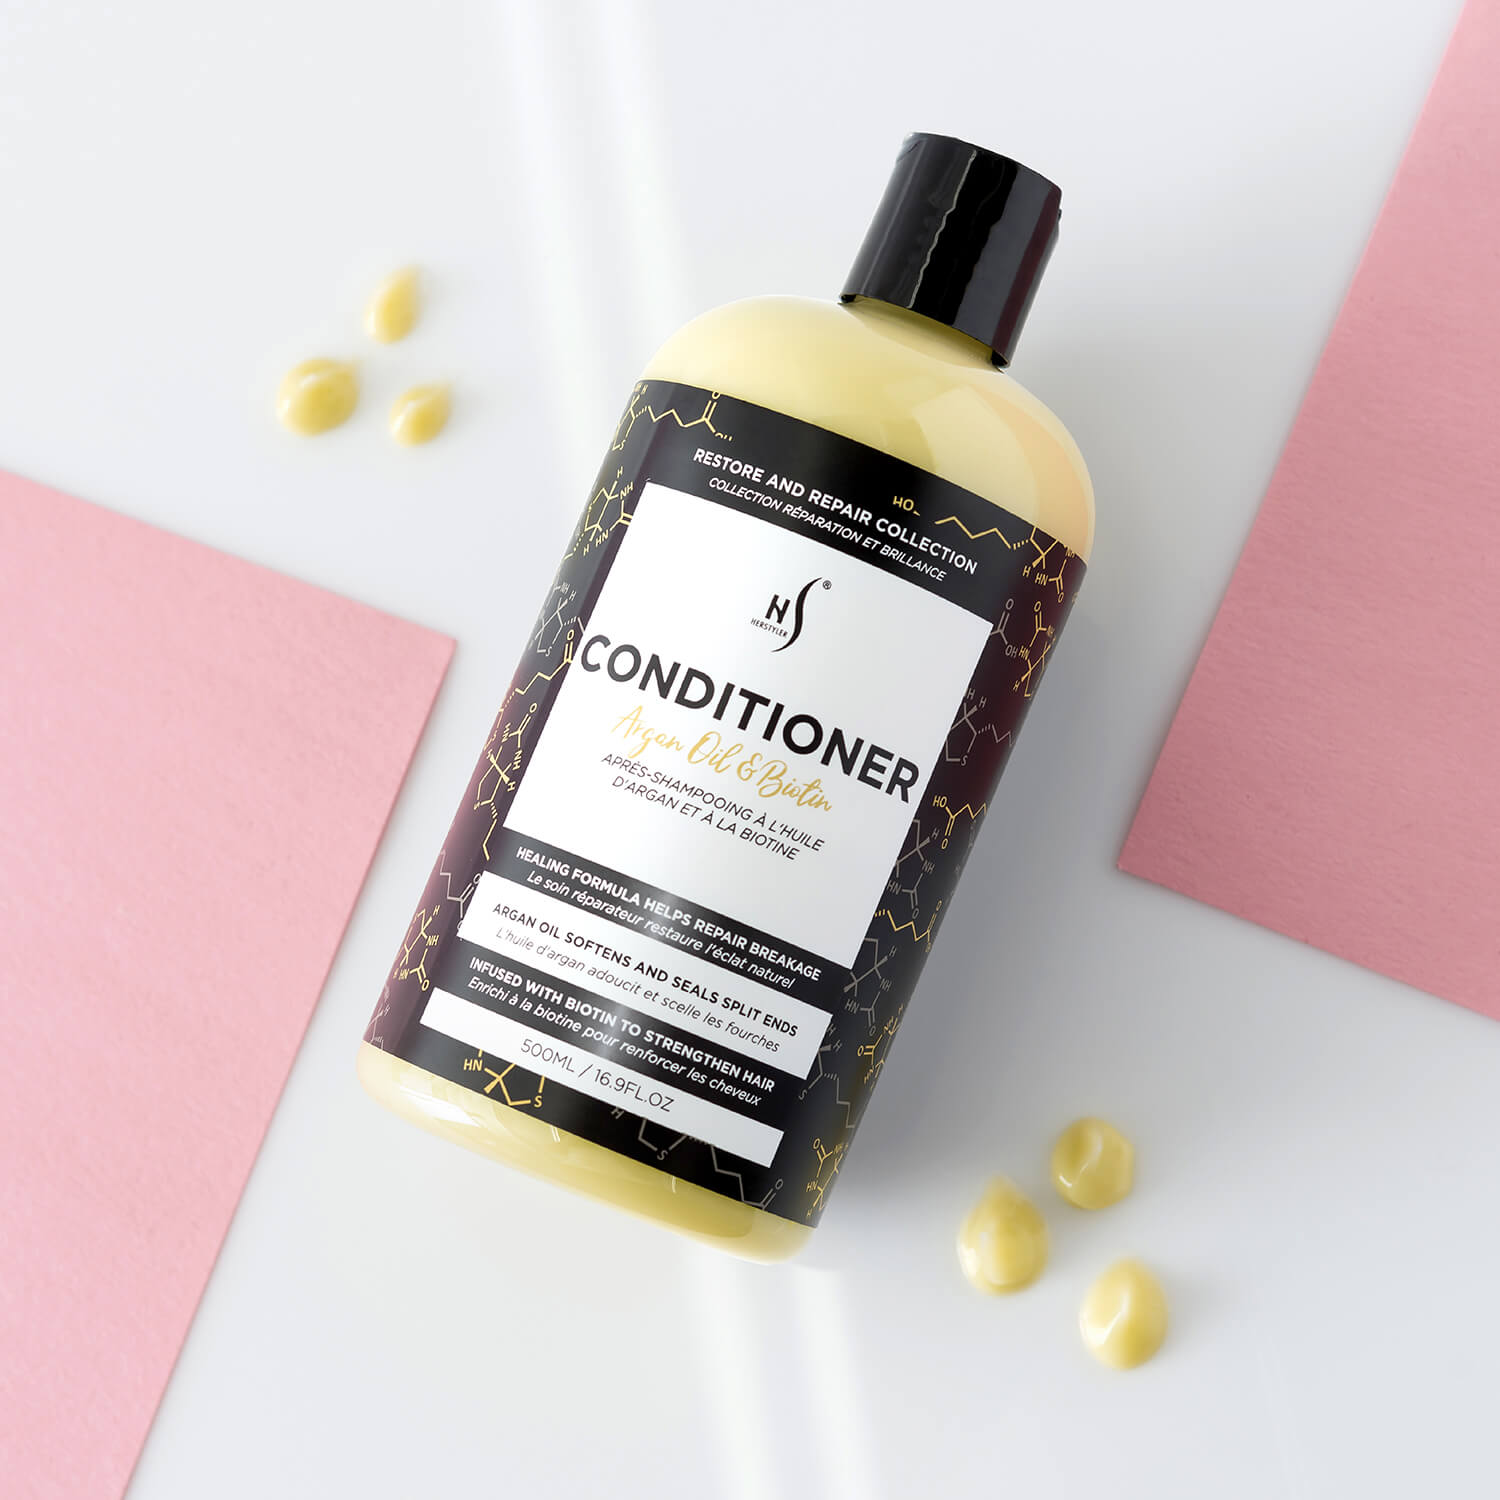
Then, apply a rich conditioner, such as the HerStyler Argan Oil & Biotin Conditioner. The argan oil in this formula will give your hair plenty of slip, making now the perfect time to detangle your locks. You won’t be able to create a smooth and voluminous blowout if your hair is knotted with tangles, so spend some time working through these with your fingers and a wide-toothed comb.
Towel-Dry
Once your hair has been washed, conditioned, and detangled, you’ll need to towel dry those soaking wet strands. However, don’t start roughly rubbing your towel over your mane. This not only damages hair cuticles but also contributes to frizz, which you definitely don’t want!
Instead, reach for a microfiber towel and use this to gently squeeze sections of your hair to wring out any excess water. Unlike regular terrycloth towels, microfiber is highly absorbent, so this shouldn’t take too long!
Apply a Heat Protectant
Once your hair is damp but no longer sopping wet, it’s time to apply a heat protectant. Sure, you could wait until your hair is dry before doing so but don’t forget that hair is much more permeable when it’s damp. This will allow your heat protectant to soak into your strands more effectively, enabling them to provide a stronger shield against the heat.
Wondering if you can skip the heat protectant altogether? It’s best not to. Exposing your hair to any form of excessive heat can really take its toll. You could end up causing your strands to turn dry, dull, and brittle. This will also exacerbate your chances of experiencing snapping and breakages. If you want your blowout to look sleek and shiny, a heat protectant is a must.
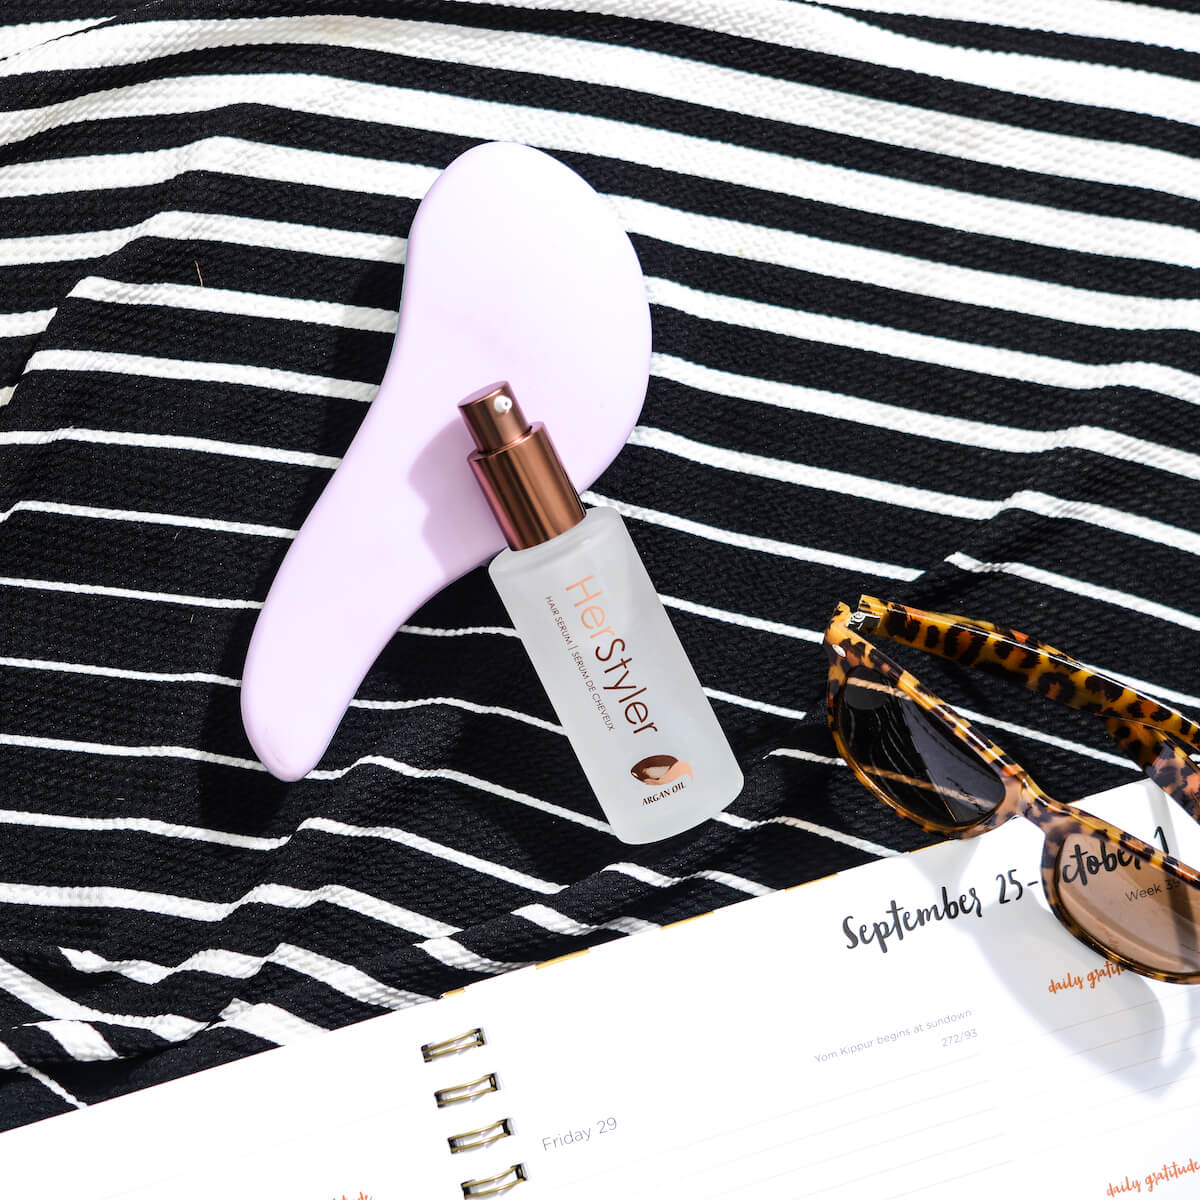
Don’t have a dedicated heat protectant product? You don’t necessarily need one. A hair serum makes a fantastic alternative. Take the HerStyler Argan Oil Hair Serum as an example. Argan oil has been proven to help keep the hair feeling protected against damage. It will leave your hair looking stronger and healthier, even after your hair has been in contact with heat. Just like a heat protectant, this serum will coat your strands so that the serum takes the brute force of the heat from your hairdryer, rather than your hair itself.
Whether you use a heat protectant spray, a cream, or a hair serum, distribute the product evenly through your strands. Use a wide-toothed comb to spread it through. This will also help to ensure that none of your strands have tangled while drying.
Make Sure That You Have the Right Tools
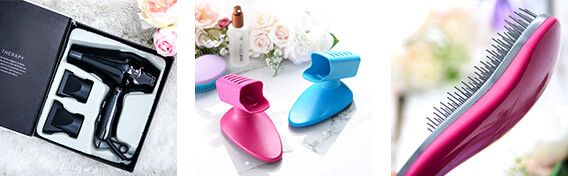
A salon-worthy blowout requires salon-worthy tools. This begins with your hairdryer. You need a model that will blast your hair dry in no time at all. The more powerful the motor, the quicker you’ll get the job done and the less heat your hair will be subjected to. Salons usually prefer hairdryers that have an 1800-2000 watt motor, so make sure that yours is similar.
Concentrator attachments are also crucial. These nozzles direct the air flow emitted by a blowdryer. This will allow you to achieve perfection even with those hard-to-reach areas of your hair. Even more advantageous, a concentrated air flow will encourage your hair cuticles to lie flat instead of standing straight. This will give your blowout a sleeker and less frizzy finish.
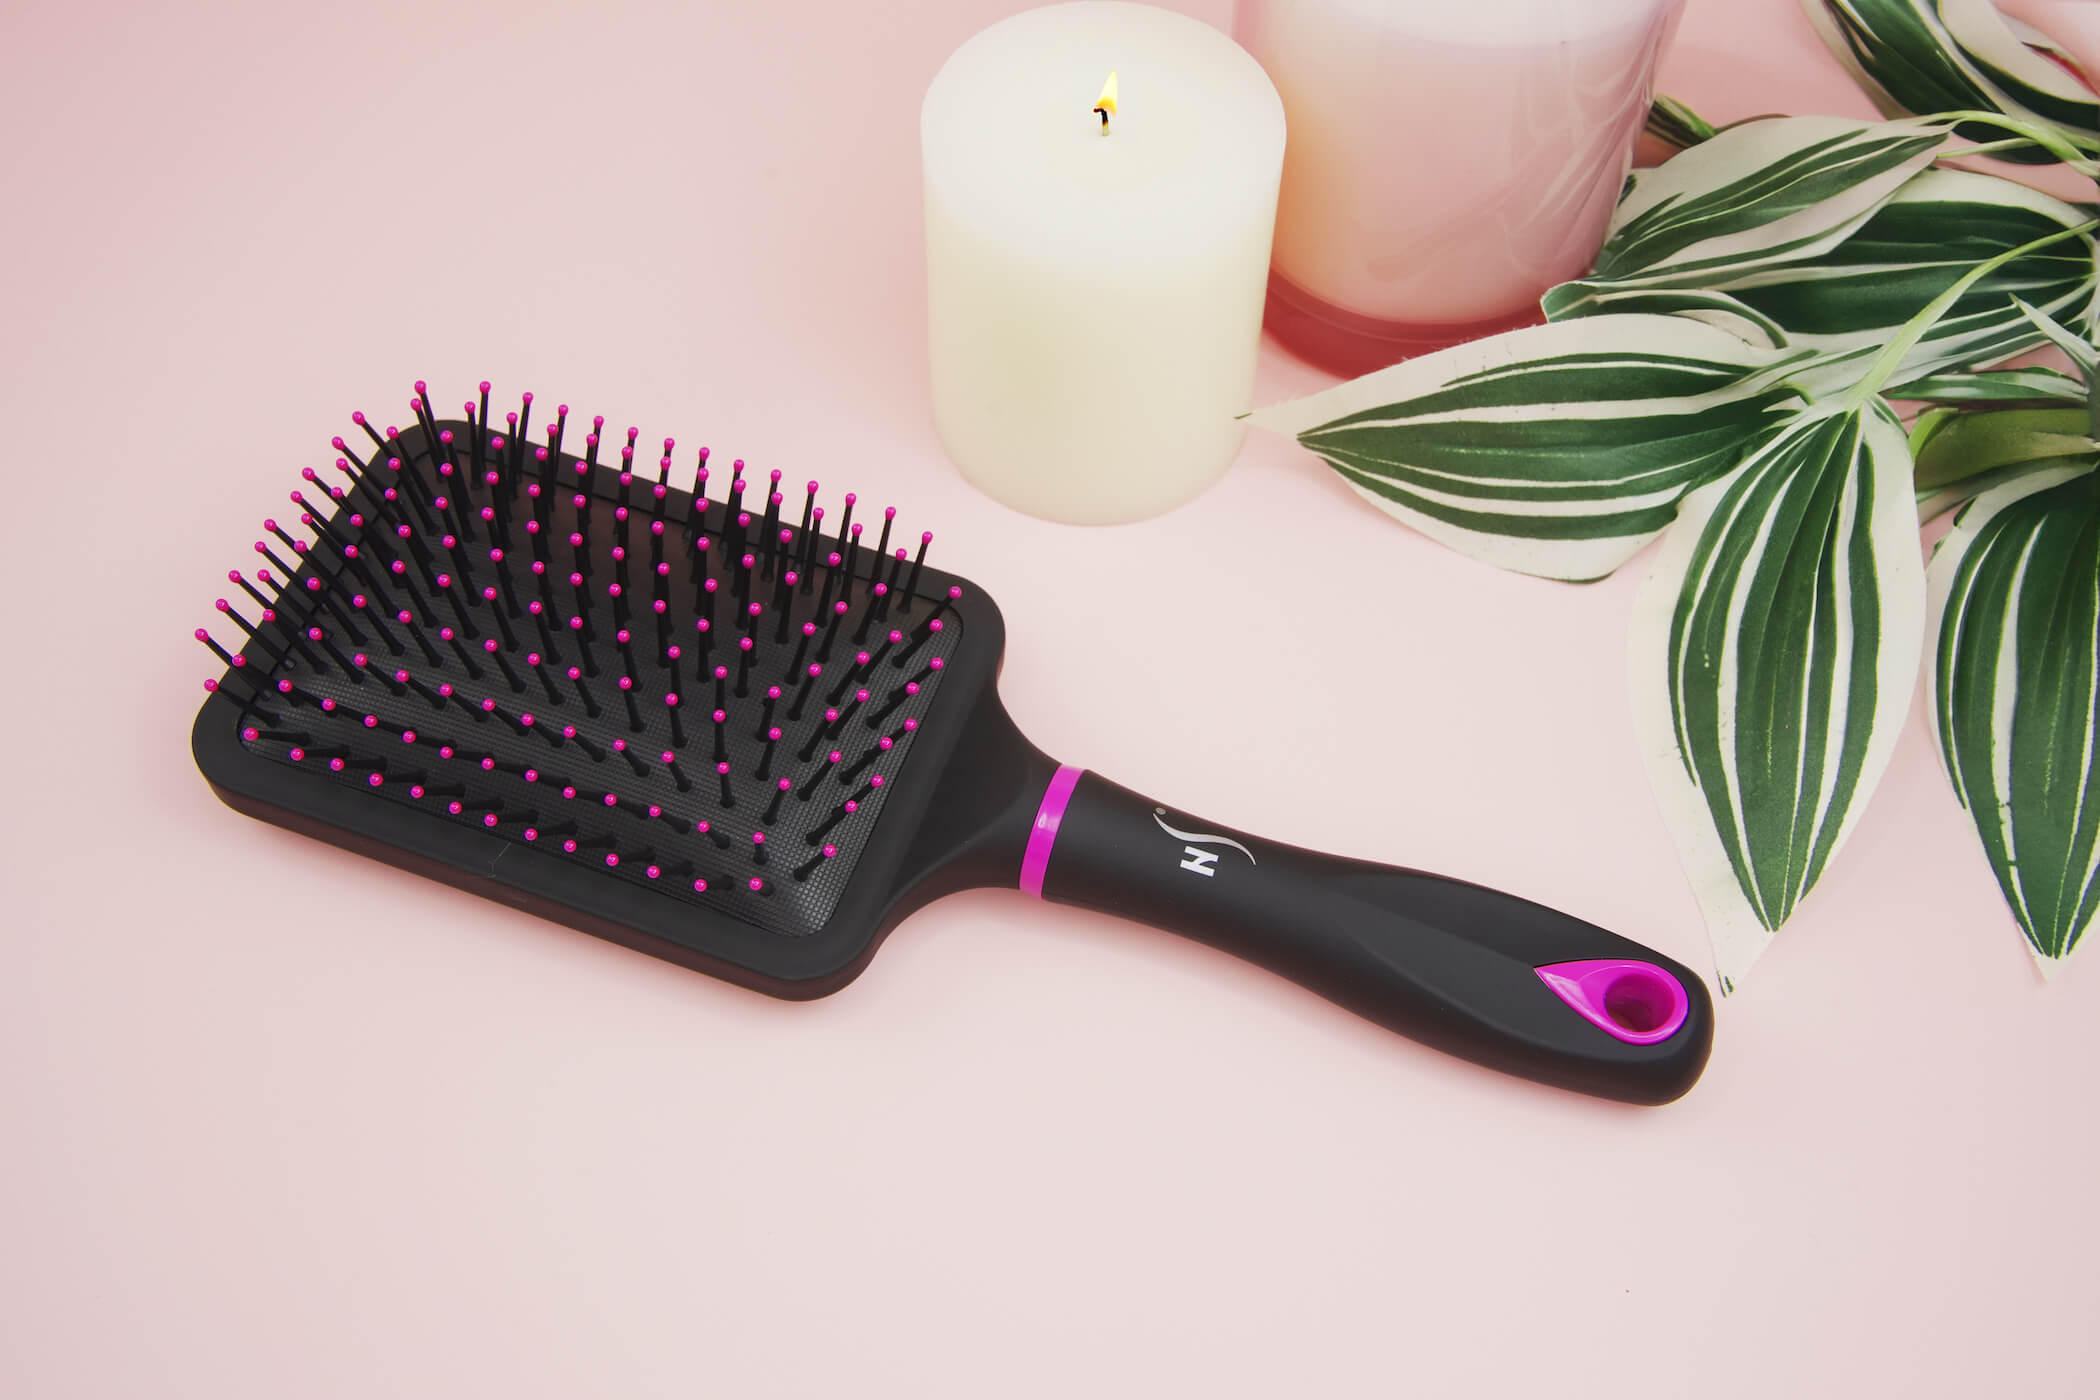
In addition to a good hairdryer, you’ll also need a hairbrush. Most professionals prefer to use boar bristle brushes because of the smoothness that those natural bristles give to the hair. They also help to improve the look of elasticity while making your hair feel stronger and more resistant to damage.
In terms of the type of brush to go for, most salons use round brushes when working on a blowout. Round brushes are available in varying sizes, so pick one that’s suitable for the type of blowout you’re aiming for. For example, if you’re looking for tight waves or curls, a small round brush is what you need. On the other hand, if you’re looking for maximum bounce and volume, then a large round brush will give you that.
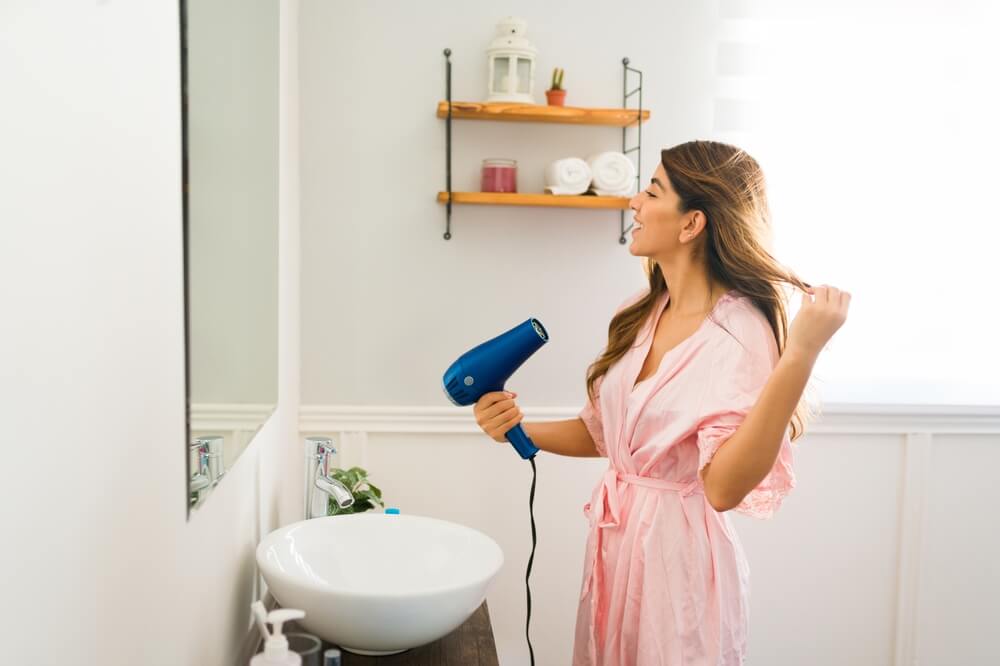
Rough Dry Your Hair
Ideally, you want your hair to be about 80% dry before you make a start on properly blow drying it. If you have time to spare, allowing it to air dry would be the safest way to go.
However, if you’re in a hurry, use your blow dryer to rough dry your hair. This simply means moving your blow dryer over your locks in a controlled manner, using your fingers to rake through your strands to help expose any extra moisture to the heat. Don’t actually be rough with your strands – keep your touch gentle!
Section Your Hair
One mistake that many people make when blow drying is attempting to work on the entirety of their hair in one go. While this may initially seem like the quickest option, it really isn’t.
Instead, you’ll need to section your hair, so that you can work on each individual section at a time. Start by parting your hair horizontally and clipping the top half to the top of your head. Then, split the bottom section into two, placing each one over your shoulder. The goal here is to separate each section enough so that they don’t end up getting in the way when you’re working on other sections. Use clips where necessary but keep them loose so that you don’t end up with dents in your blowout.
Blow Dry Each Section
It’s now time to begin properly blow drying! This is where things start to get a little complicated since the method that you use will dictate the blowout that you’ll be able to create.
If you want to keep things simple, choose a section of your hair and point your blow dryer at its roots. Move your blow dryer down toward the ends of your hair, keeping the nozzle pointed downwards to flatten your hair cuticles. As you move through each section, use your other hand to guide your hairbrush through your strands. The brush should provide tension, holding your hair taut so that you can achieve a smoother finish.
Fine-Tuning Your Blowout
Here are a few extra tips to follow depending on your hair texture and the type of blowout you’re aiming for:
- Fine hair – spend some extra time using your hairbrush to lift your hair at the roots. The higher you’re able to lift each section, the more volume you’ll be able to give to your hair.
- Thick hair – if you’re trying to make thick hair look smooth and straight, you may want to swap your round brush for a paddle brush. Hold this underneath each section of your hair, starting close to your roots, moving your hairdryer down from the top of each section in tandem with this.
- Short hair – short hair requires a smaller hairbrush. Again, just like when working with fine hair, spend time lifting your hair upward at the roots, focusing your blowdryer underneath this to lock that lift in place.
- Waves or curls – a round brush is a must for waves or curls. You’ll need to wrap each section of your hair around the barrel of the brush, before using your hairdryer to set each curl. Then, swiftly release your brush in a downward motion, taking care not to yank on your newly formed curl while you do so.
- Bangs – bangs dry pretty quickly on their own, so tackle them first. For side-swept bangs, use your brush to move your bangs to the side of your choosing while blow drying them. If you have blunt bangs, move a paddle brush from side to side as you dry them. This will leave them looking polished, without the flatness that blow-dried blunt bangs often sport.
Finish With a Spritz of Hairspray
Once you’re done with your blow dryer, give your hair a once-over with your fingers. You need to make sure that every single strand is 100% dry if you want your perfect blowout to last.
Then, to give your blowout some extra volume, finish with a spritz of hairspray. Try flipping your hair upside down and applying the spray to your roots. This will add some height, leaving your hair looking beautifully voluminous.
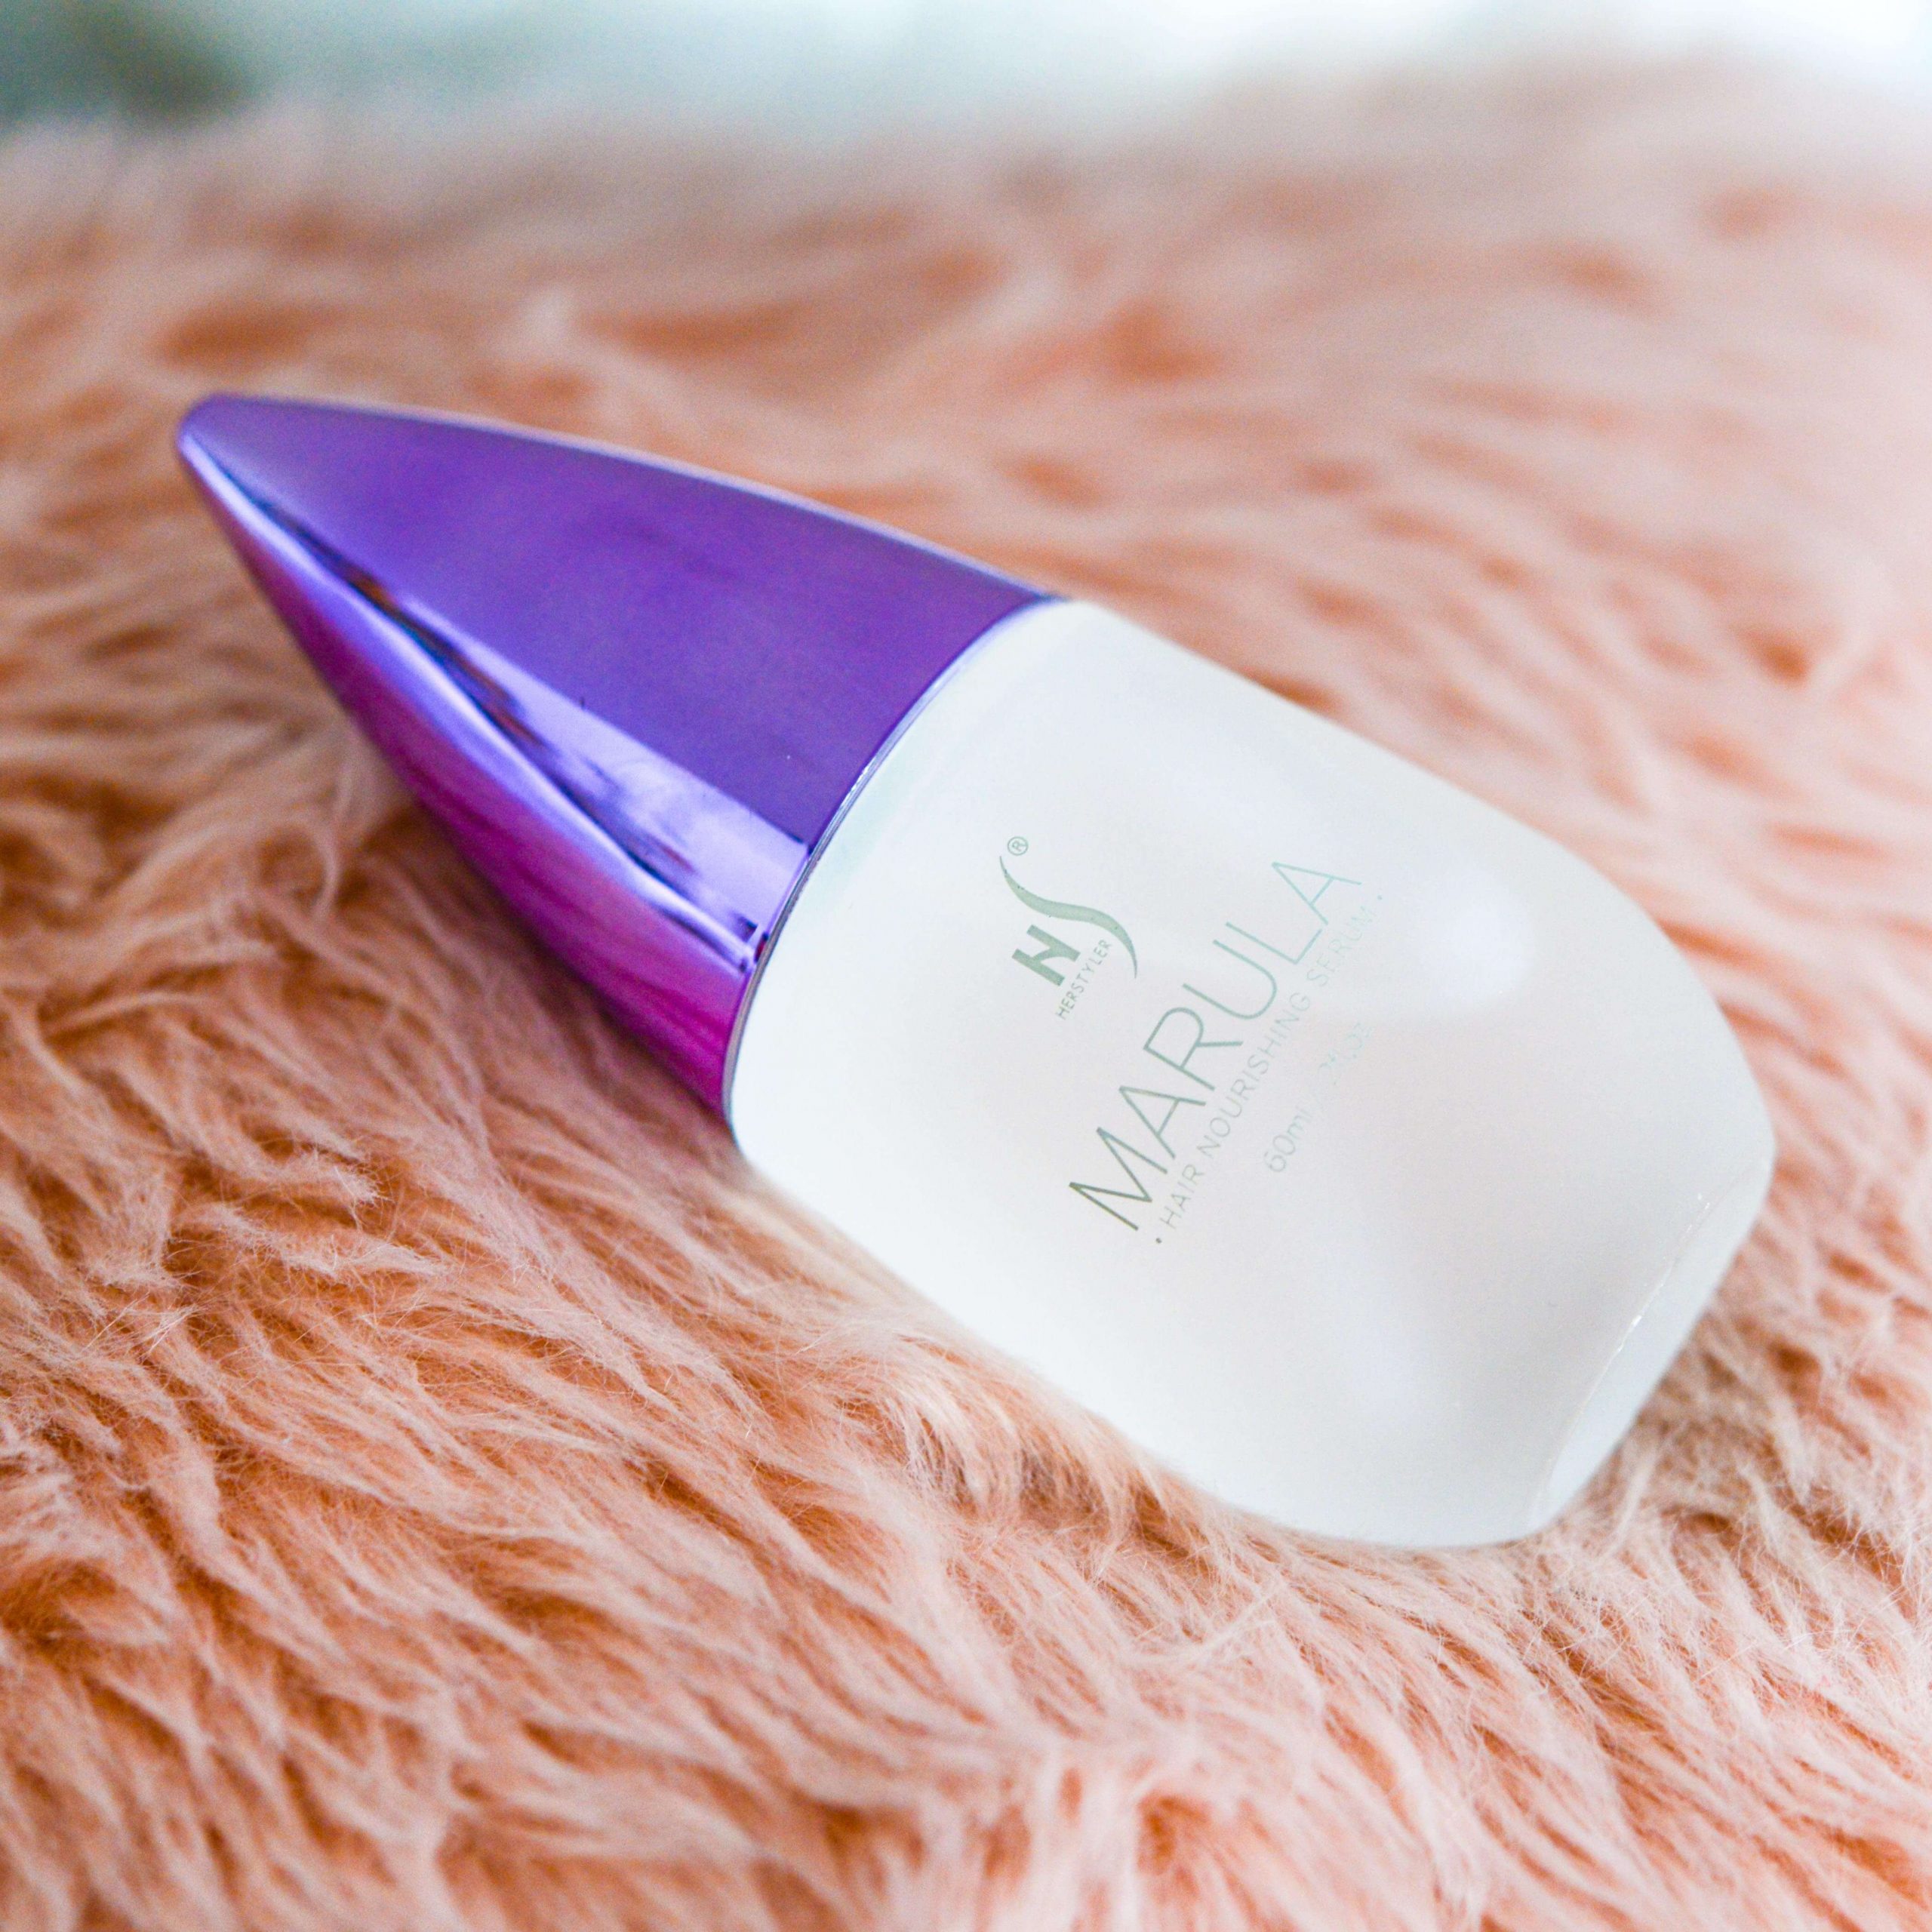
Alternatively, if you’re going for a sleeker finish, smooth a hair serum over your mane once you’re done blow drying it. The HerStyler Marula Oil Hair Serum would be perfect for this. It will add shine while reducing the look of frizz. You’ll only need a small amount, so make sure that you distribute this evenly through your strands.
Maintaining Your Perfect Blowout
If you take care of it correctly, your new blowout could easily last for a few days. However, this requires some nighttime protection, as this is usually when blowouts end up mussed up. Consider delicately wrapping your hair in a loose bun or braid, in a way that keeps those bouncy waves in place. A hair wrap can also be useful to prevent frizz from forming while you snooze.
If your hair is naturally quite oily, an application of dry shampoo the day after your blowout should help to absorb excess sebum and revitalize the look of your hair.
Of course, avoid getting your blowout wet. Keep an umbrella nearby while you’re out and don a shower cap before getting into the bath or shower. Water, or even just humidity, will cause your hair to revert back to its natural state, which you want to avoid if you’re hoping to prolong the life of your blowout.
Summary
Creating a perfect, salon-worthy blowout may seem like a challenging task, but it’s actually pretty simple when you break the process down into different steps. Follow the method and tips that we’ve shared above and it won’t be long before you’re rocking a blowout that looks bouncy, healthy, and professionally crafted!
Click here to browse more bestselling hair products and styling tools from HerStyler.